
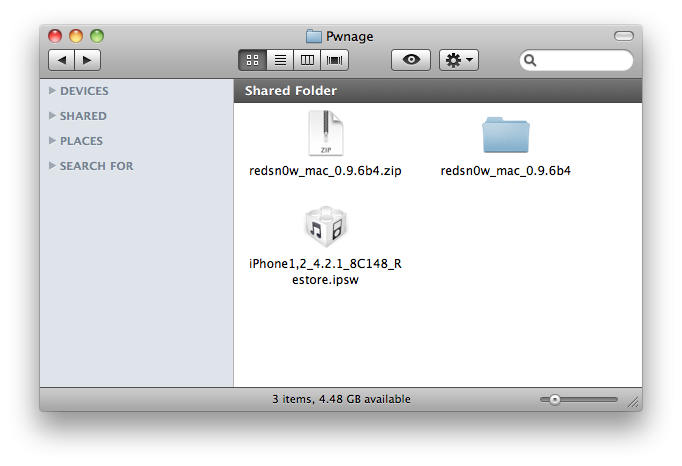
Korak 1
Kreirajte Pwnage folder na Desktopu.
Preuzmite RedSn0w ovdje i premjestite ga u Pwnage folder. Isto tako, preuzmite najnoviji 4.2.1 firmware ispod i spremite u Pwnage folder.
4.2.1 (3G): iPhone1,2_4.2.1_8C148_Restore.ipsw
Napravite extract RedSn0w aplikacije iz RedSn0w zip file-a.
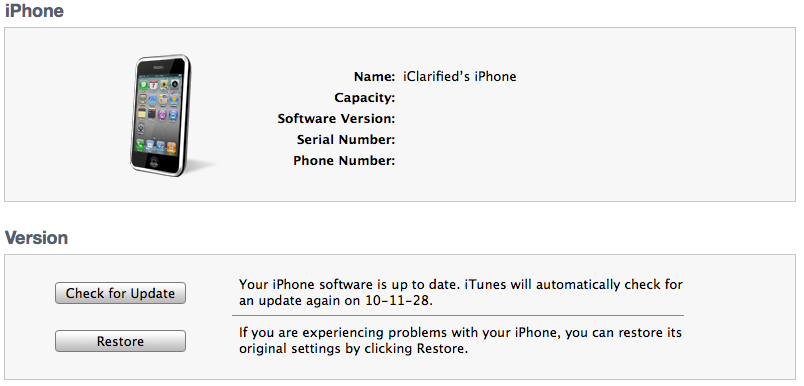
Korak 2
Spojite iPhone sa računalom i pokrenite iTunes.

Odaberite iPhone iz liste povezanih uređaja. Zatim pritisnite i držite tipku Option i kliknite na Restore iz iTunes-a.
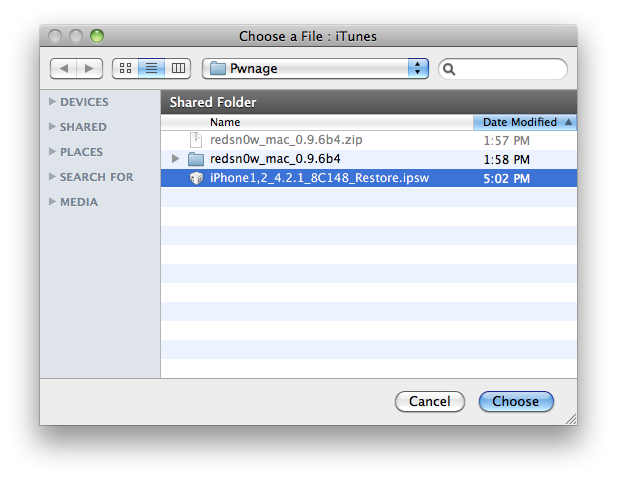
Sada odaberite 4.2.1 firmware ipsw iz Pwnage foldera na desktopu. Kliknite na Choose za nastavak.
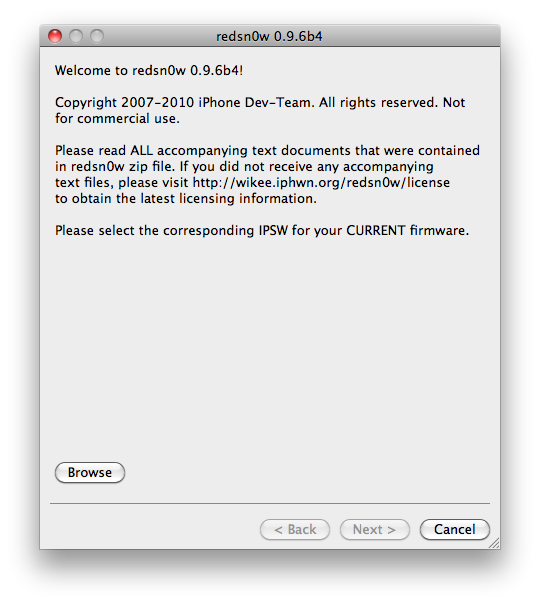
Korak 3
Kada iTunes završi sa update-om iphone-a na željeni firmware otvorite pwnage folder na desktopu i pokrenite RedSn0w aplikaciju.

Korak 4
Kada se RedSn0w pokrene kliknite na Browse.
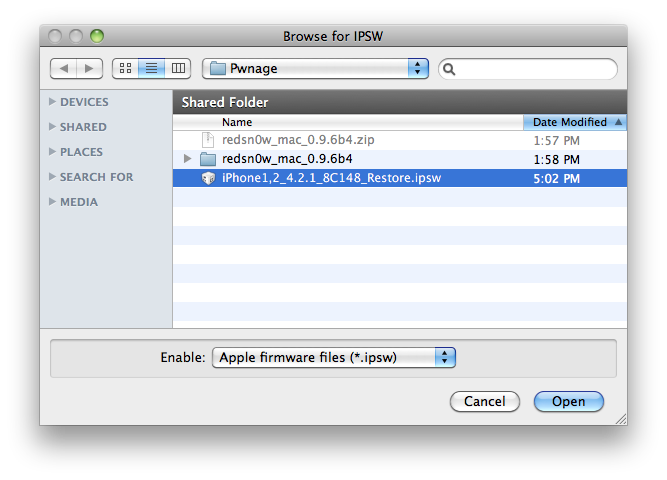
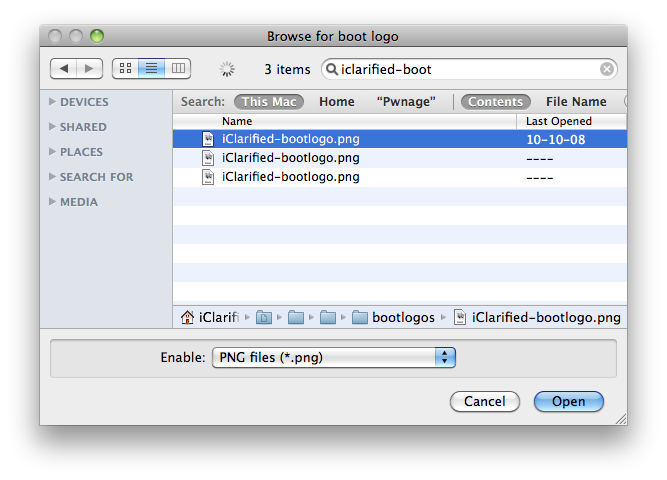
Korak 5
Odaberite 4.2.1 firmware ipsw iz pwnage foldera i kliknite Open.
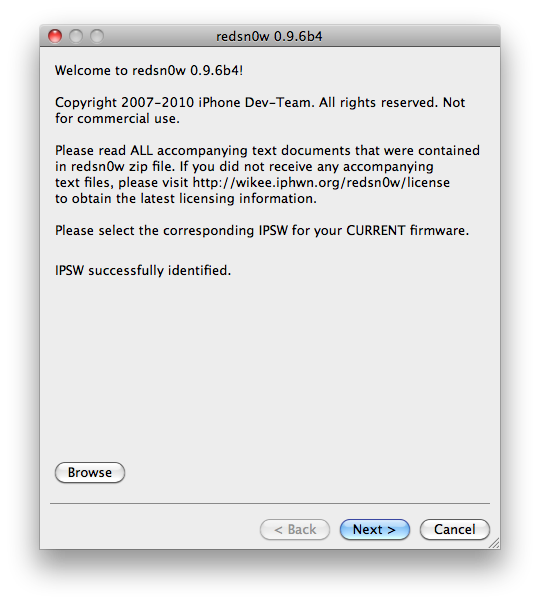
Korak 6
Kada firmware bude odobren kliknite Next za nastavak.
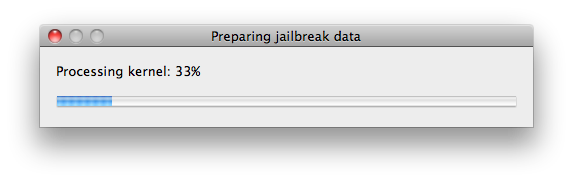
Korak 7
RedSn0w će sada pokrenuti jailbreak data.
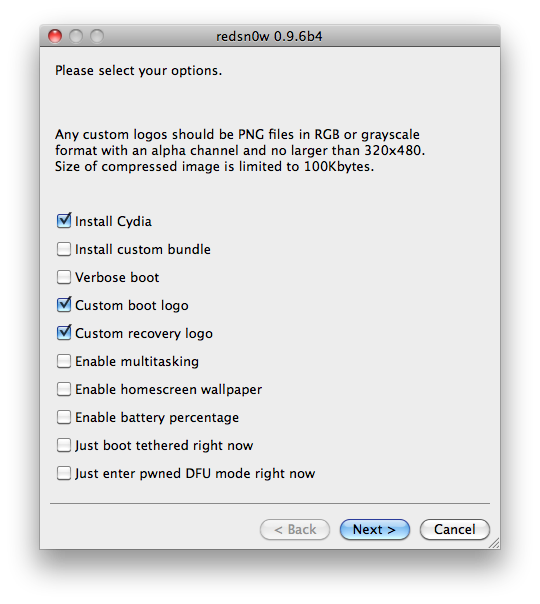
Korak 8
Iz ovog menija možete odabrati jailbreak opcije.
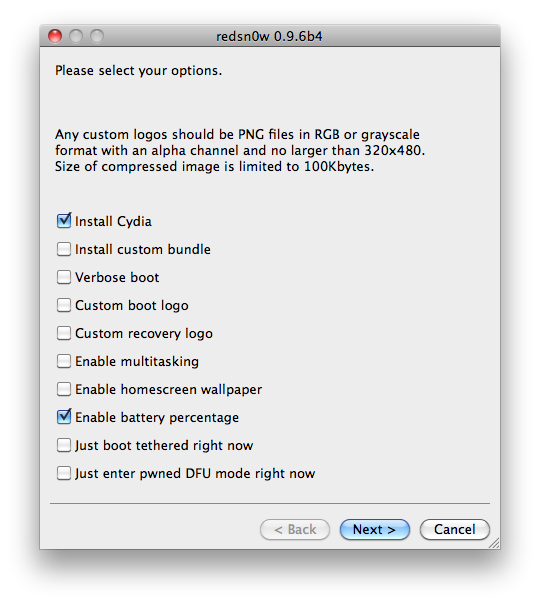
Verbose boot displays detailed information on boot of your device and is generally only needed by developers and advanced users.
Make sure Cydia is selected. For this tutorial we will also select Custom boot logo and Custom recovery logo.
When you click to select each custom logo option a dialog window will appear asking you to select the image. Locate the image you would like to use then press the Open button.
*Remember the rules for boot logos are: RGB or Grayscale format with Alpha channel and dimension below 320x480.
Notice that RedSn0w can Enable multitasking, Enable homescreen wallpaper, and Enable battery percentage. If you do not need multitasking we would recommend deselecting it as it makes your iPhone 3G run very slow.
Kliknite Next za nastavak.
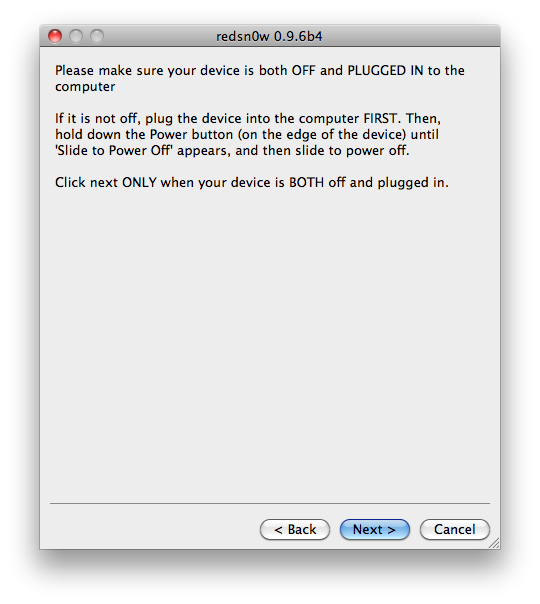
Korak 9
Spojite iPhone sa računalom ugasite ga(iphone) i kliknite Next.
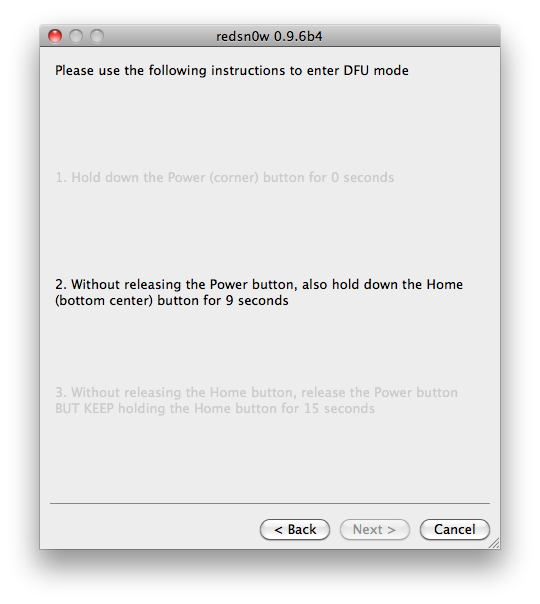
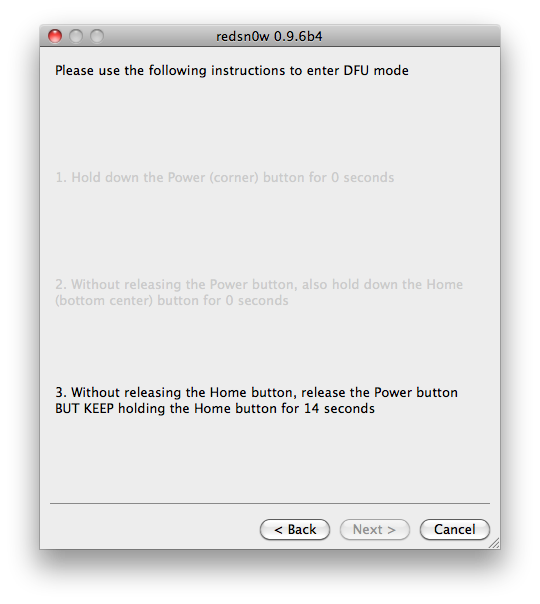
Korak 10
RedSn0w će sada pokrenuti DFU mode, slijedite upute.

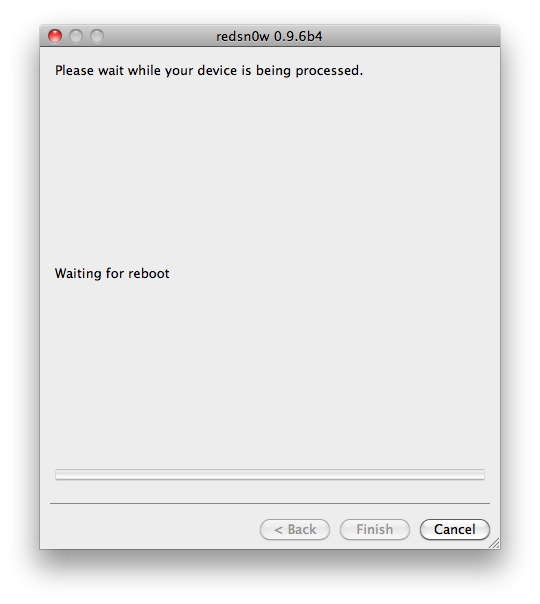
Korak 11
iPhone će sada napraviti reboot
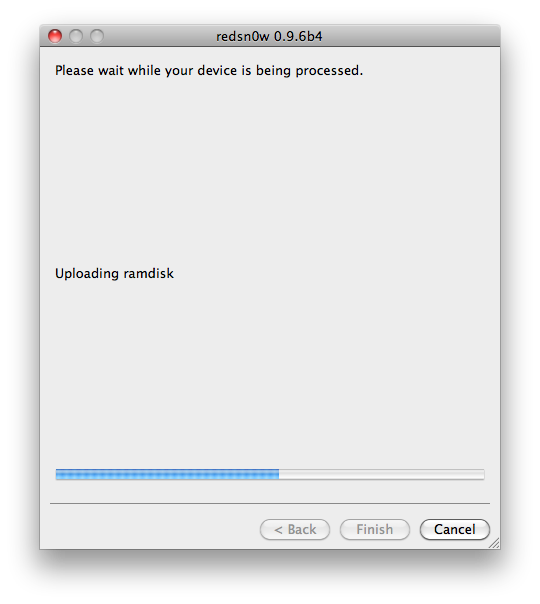
Korak 12
RedSn0w će zatim početi sa uploadanjem novog RAM Disk i Kernel-a.
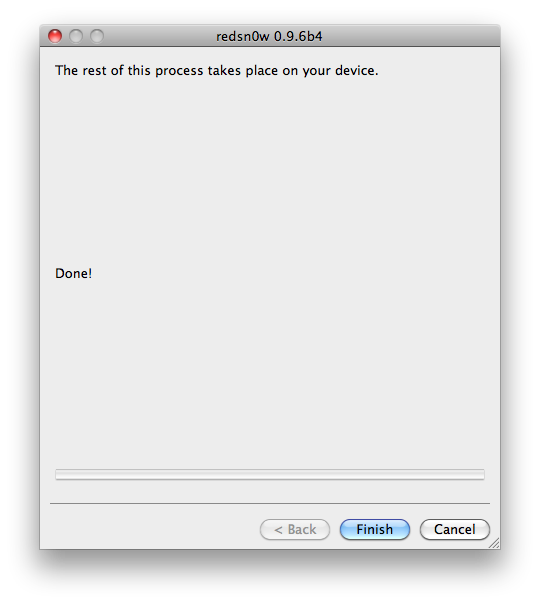
Korak 13
Kada proces završi biti ćete obavješteni. Kliknite zatim na Finish. Tada će se iphone rebootati i kada završi imati će Cydia-u.
*As usual a big thanks to the iPhone Dev-Team for their hard work and contribution to the iPhone community.
